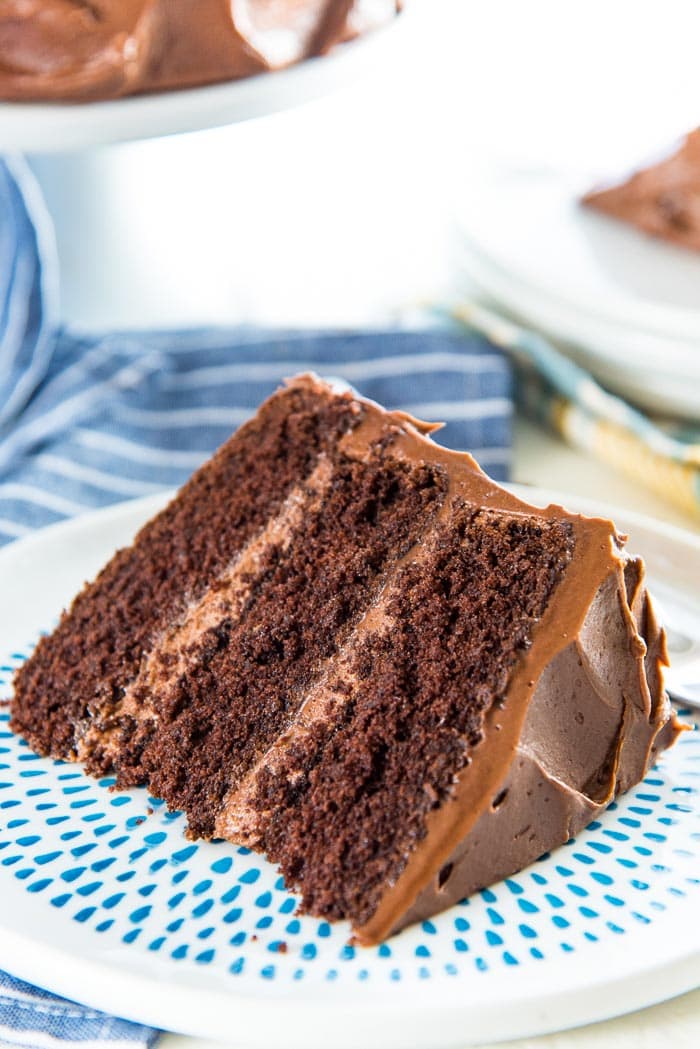
This is my easy and foolproof Classic Chocolate Cake recipe, not too fudgy, perfectly moist, light and fluffy with a close, soft and sturdy crumb.
Slathered in a creamy, melt-in-your-mouth chocolate buttercream frosting, this is my most requested chocolate cake recipe! And for its vanilla counterpart, see here for my perfect vanilla cake recipe.
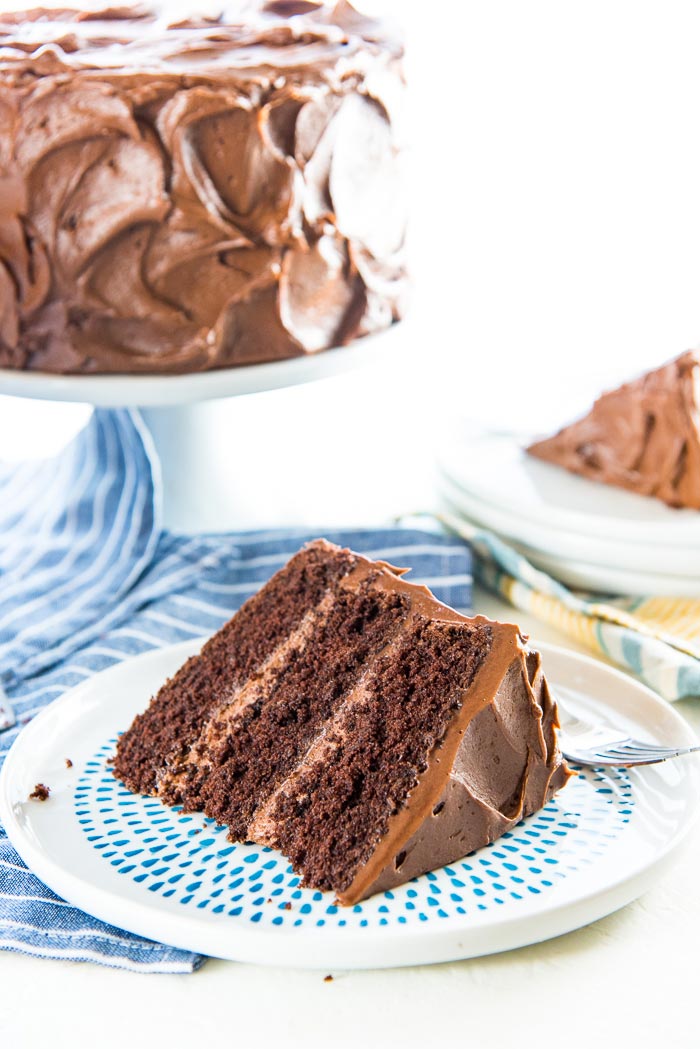
Are you looking for the Best Classic Chocolate Cake recipe? A delicious, chocolate layer cake with tall, light, fluffy layers? And slathered with a creamy chocolate buttercream frosting to die for? Then that’s exactly what you’ve found right here! 🙂
Just like my extra fudgy one bowl chocolate cake, flourless chocolate torte, chocolate bundt cake, devil’s food cake, and molten chocolate lava cake, this classic chocolate cake is one of my often-requested, family and crowd-favorite chocolate desserts!
Why this is the BEST chocolate cake recipe
A great majority of chocolate cake recipes on the internet are based on the classic Hershey’s chocolate cake. Now don’t get me wrong, I love this chocolate cake and I’ve made it countless times.
But the Hershey’s chocolate cake is really fudgy, rich and moist due to the large amount of moisture in the cake. The crumb is wet and more open, resulting in the cake having a very fudgy mouthfeel.
Not that there’s anything wrong with it, I love an insanely fudgy, moist chocolate cake sometimes. So much so that, I even shared a recipe for an extra fudgy chocolate cake, which took the Hershey’s chocolate cake even further by adding cream cheese to make it even more dense and fudgy.
But to me that is not a classic chocolate cake. To me, a classic chocolate cake is not so deeply fudgy.
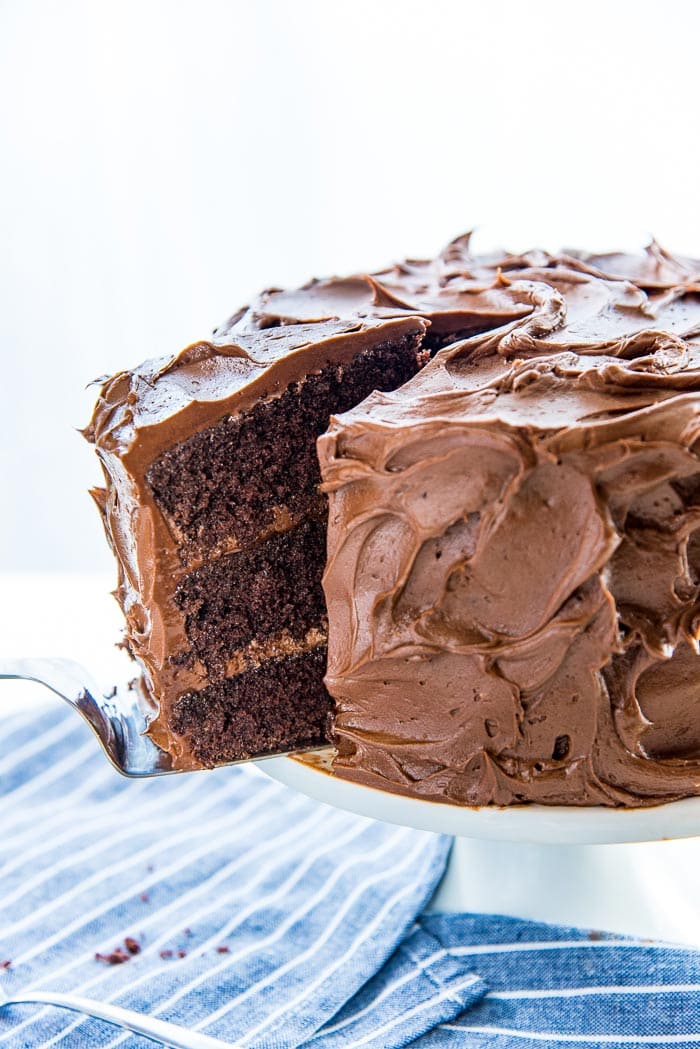
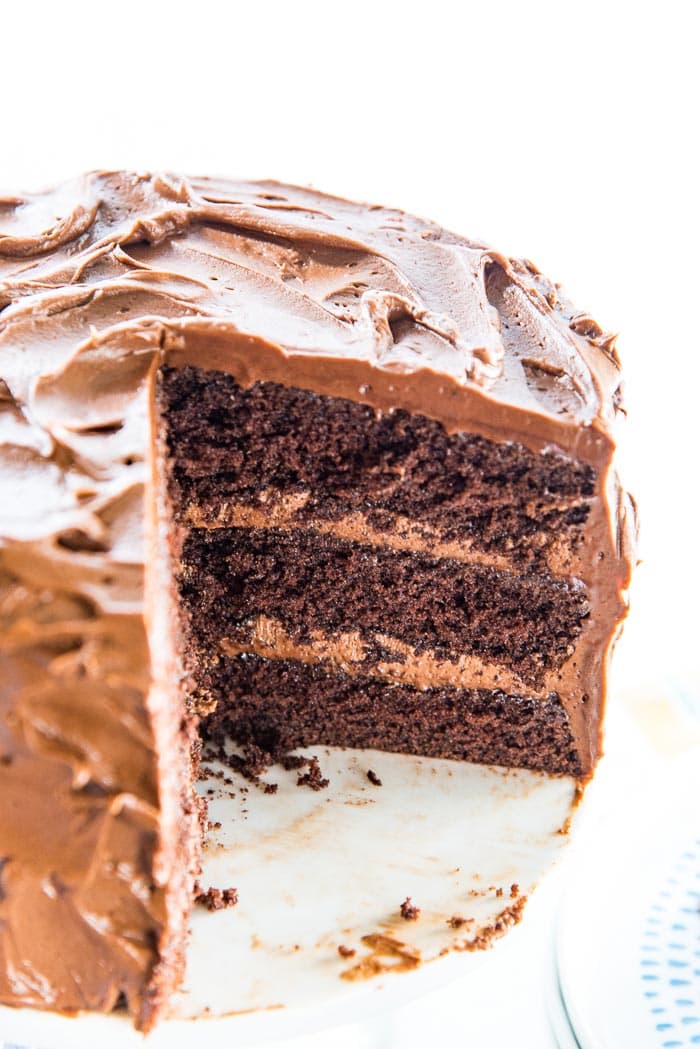
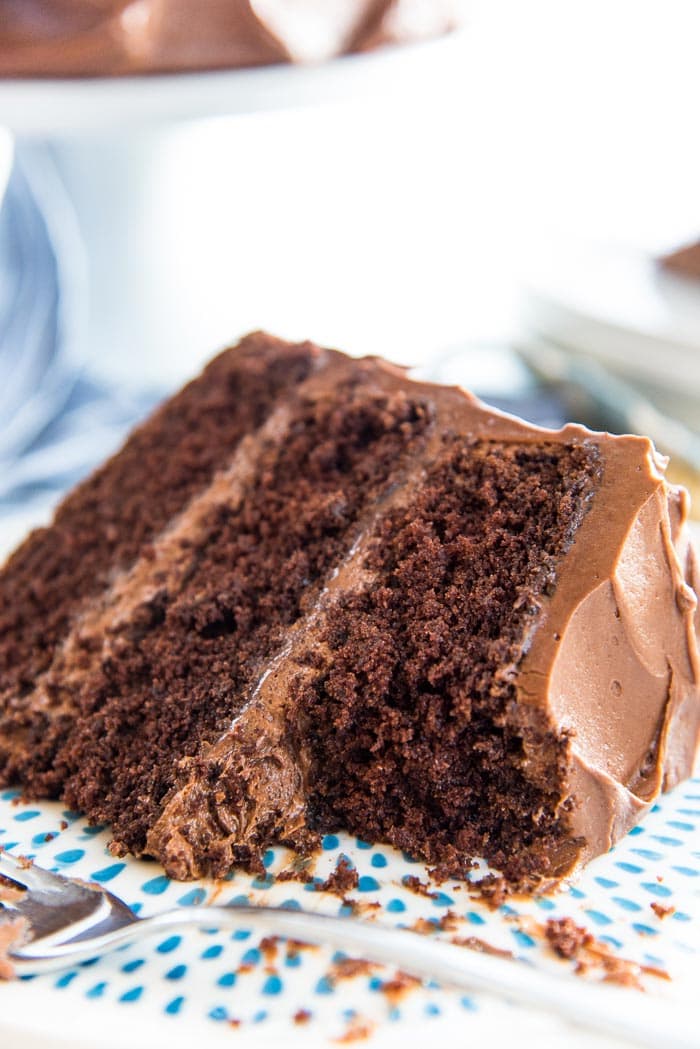
It should have a close, soft but sturdy crumb that’s just perfectly moist, light and fluffy, with layers that rise high as the cake is being baked, and tastes super chocolatey.
So if that’s the kind of classic chocolate cake that you’re looking for, then I’ve got you covered with this foolproof chocolate cake recipe!
I’ve tried dozens upon dozens of variations of chocolate cake recipes in my life, and this is the one that I ALWAYS keep coming back to for a classic chocolate layer cake. It’s the chocolate cake that reminds me of my childhood, of birthdays, and celebrations.
Since I’ve gotten a lot of great feedback on my vanilla cake recipe, I decided to share my tried and true, best chocolate cake recipe with you guys today! 🙂
Why you’ll love this chocolate cake recipe
- It’s a delightfully light and airy cake
- With a soft, close crumb
- It’s got tall cake layers
- With a creamy, fluffy, melt-in-your-mouth soft chocolate buttercream frosting
- And overall the cake is soft, creamy and tastes super chocolatey.
Expert tips for the perfect chocolate cake
- It’s made with Dutch cocoa powder.
- The cake is moist but airy because of the “chocolate milk slurry” (explained below).
- I talk about how to prepare the cake pans.
- And preventing over-mixing of the cake batter.
- Tips on how to get tall, perfect cake layers.
- Tips on how to make a perfect, creamy, melt-in-your-mouth soft chocolate buttercream.
- Tips on how to frost the cake perfectly (or imperfectly!).
- How to get perfect cake slices with clean cuts.
Alright, so let’s get to it!
How to make classic chocolate cake
Using Dutch cocoa powder instead of natural cocoa powder
Using Dutch cocoa powder for the cake as well as the buttercream, ensures that this chocolate cake has a fantastic depth of chocolate flavor.
The alkaline processed Dutch cocoa powder has a deeper chocolate flavor than natural cocoa powder (as explained in my baking basics article on Dutch process vs natural cocoa powder).
But since this cocoa powder isn’t acidic, I use buttermilk and vinegar in this chocolate layer cake recipe so that there’s an acid component to react with the basic raising agents like baking powder and baking soda (you can also read more about that in my baking basics article on baking soda vs baking powder). Otherwise, the cake wouldn’t rise as much as I would like it to.
Using a chocolate milk slurry
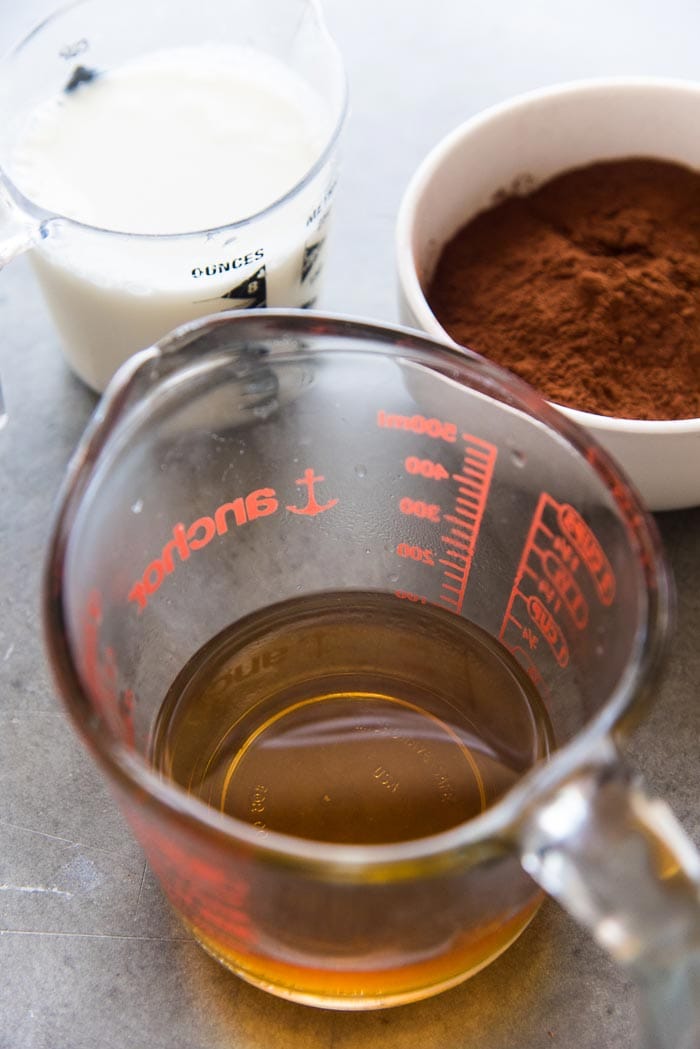
Another secret to making this classic chocolate cake moist but airy, is to make a “chocolate pudding base”. That is not to say that I’m adding chocolate pudding to the cake, but rather, I create a thick chocolate milk base that acts like a pudding!
I melt the cocoa powder with hot water to make a thick paste and then whisk in the cold buttermilk. This mixture does a great job of holding on to moisture inside the cake while baking.

How to prep the cake pans for baking
To make life easy, I make this chocolate cake in three 8 inch pans for a 3-layer chocolate cake. You can make this in three 9 inch pans as well. See my cake pan conversion chart for more information.
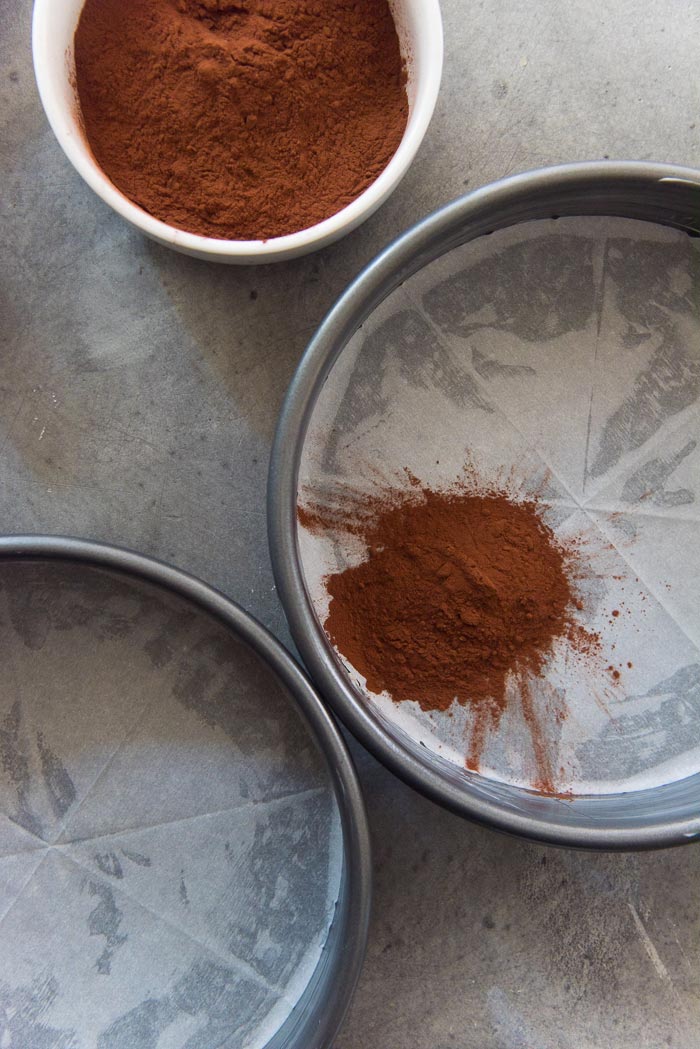
I line the bottom of the pans with parchment paper, and then for the sides, I butter and dust with cocoa powder. However, you can get away with not using parchment paper for the bottom, and simply butter and dust the whole pan with cocoa powder. The parchment paper on the bottom just makes it easier to flip the cake out when it’s done baking.
By dusting the pan with cocoa powder instead of white flour, you ensure that the baked layers have a similar, even color on the outside when it comes out of the pan. Dusting with white flour will give the cake layers a slightly yellowy, white flour crust on the outside, which looks a bit unsightly.
Tips on how to prevent overmixing the cake batter
Over-mixing the cake batter (after adding the flour) is the number one reason for failed cakes. Over-mixing results in very “holey” chocolate cake layers with big air bubbles or tunnels of air. The cake layers will feel tough or even rubbery in extreme cases. That’s because of the over-developing of the gluten by over-mixing. So preventing over-mixing is really crucial.
This is why I prefer to fold in the flour and chocolate milk BY HAND, instead of using a stand-mixer. Using a spatula to fold in the flour and milk by hand will prevent the flour from developing too much gluten.
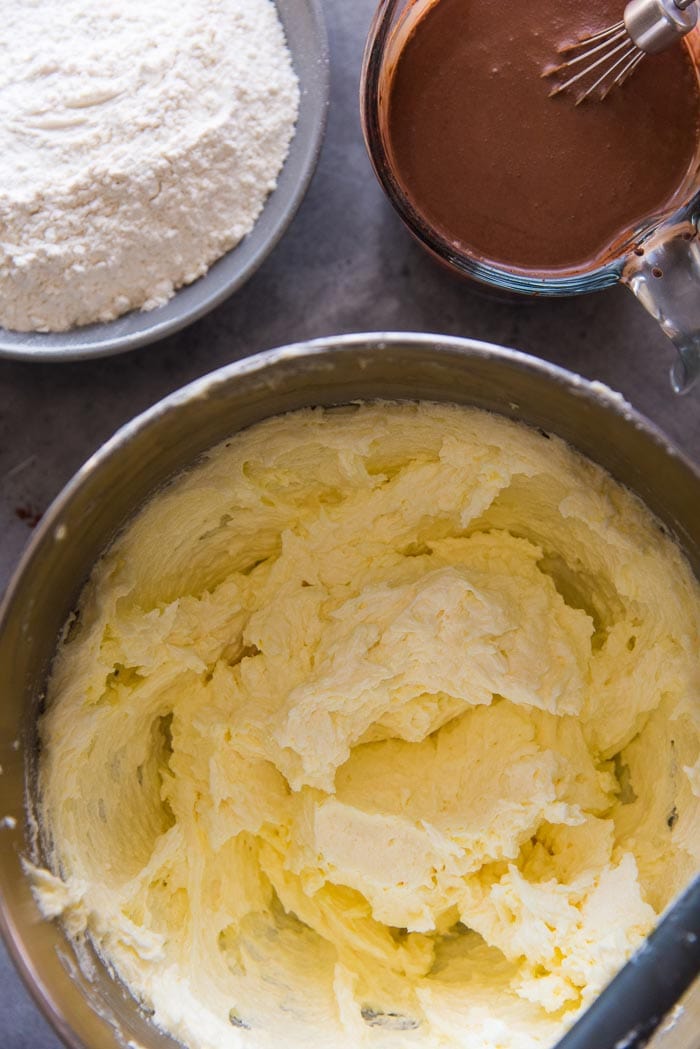
ALWAYS sift the flour. I sift it thoroughly, even double or triple sift it. With no lumps, the flour blends into the batter quicker.
When I add the flour into the batter (in 3 additions), I don’t always thoroughly mix in the flour before adding the milk. In fact I add the milk when there’s still a few white flour streaks in the batter.
However, I do make sure that all the flour is mixed in well after the final addition. Reducing the mixing/folding action this way, still ensures that all the flour and milk are mixed through, while reducing the likelihood of developing too much gluten.
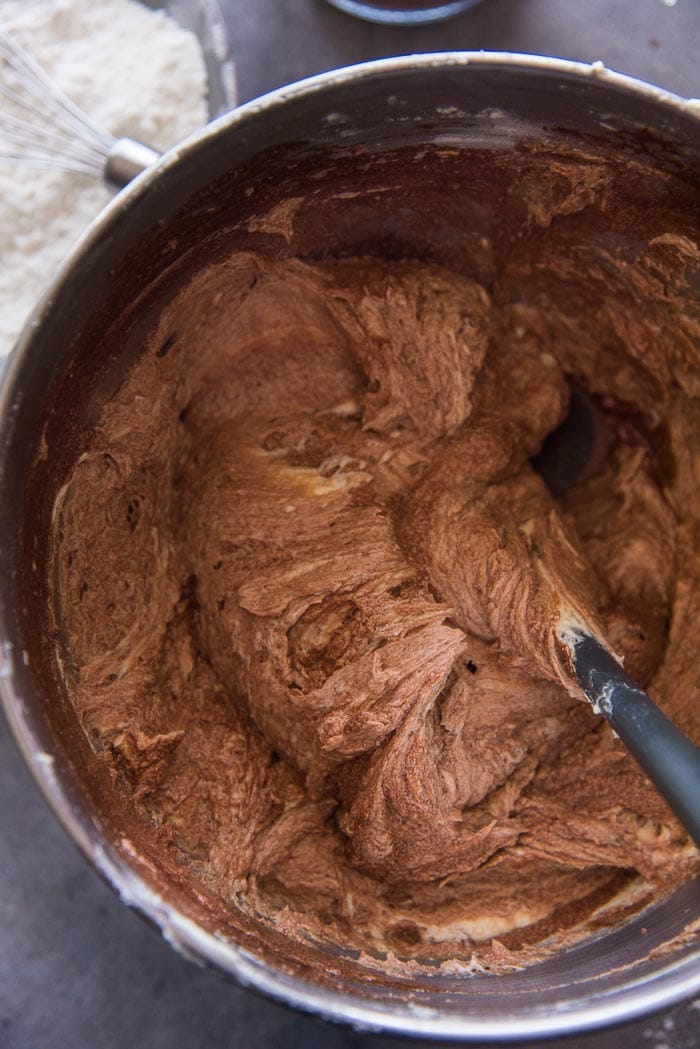
You can still use your stand-mixer if you must, BUT you should have it at the lowest mixing speed possible, and mix in the flour using the shortest amount of time. Apply the same principle that I mentioned above, and don’t wait for the flour to completely mix in before adding milk during the mixing process. But DO make sure that it’s all mixed in and smooth after the final flour addition.
You can use CAKE FLOUR as well which has less gluten than AP flour. Remember to WEIGH an equal amount of cake flour as AP flour. If you go by volume and use cup measurements, this will result in the addition of LESS cake flour, which may make the cake collapse after baking (due to too little flour).
How to get PERFECT and even cake layers
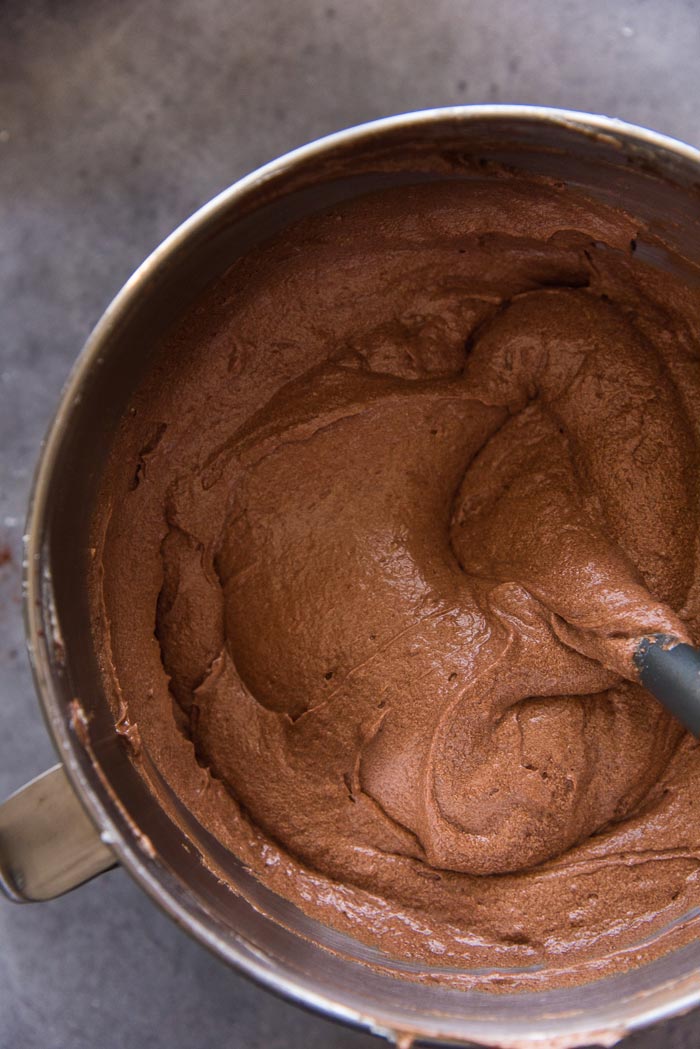
Unlike the Hershey’s chocolate cake where the cake batter is thin and watery, this classic chocolate cake has a batter that is thick and rich. Measure it out evenly into each pan, so that you get even, equal-sized cake layers. I like to use a weighing scale, and I consistently add 18.7 oz per cake pan (530 g).
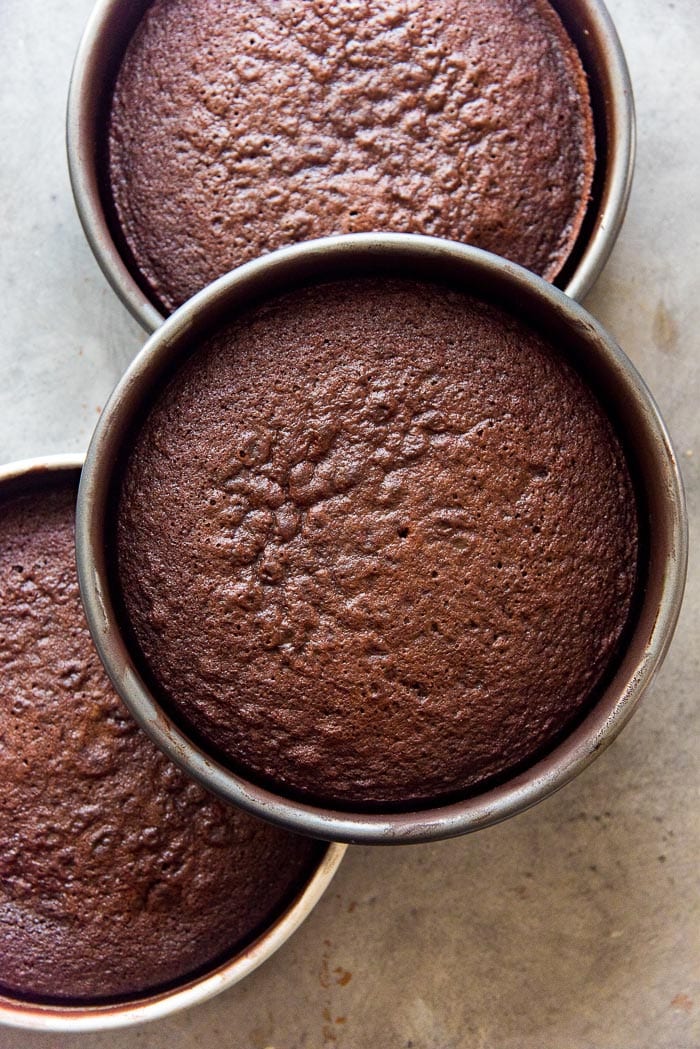
The cake layers will have sides that are slightly slanted. This is quite normal. If the cake layers shrink too much from the sides, then I recommend reducing the baking time and then removing the pans from the oven as soon as the center is baked through and the cake layers are JUST starting to shrink from the sides. The longer you keep it in the oven, the more it will shrink from the sides.
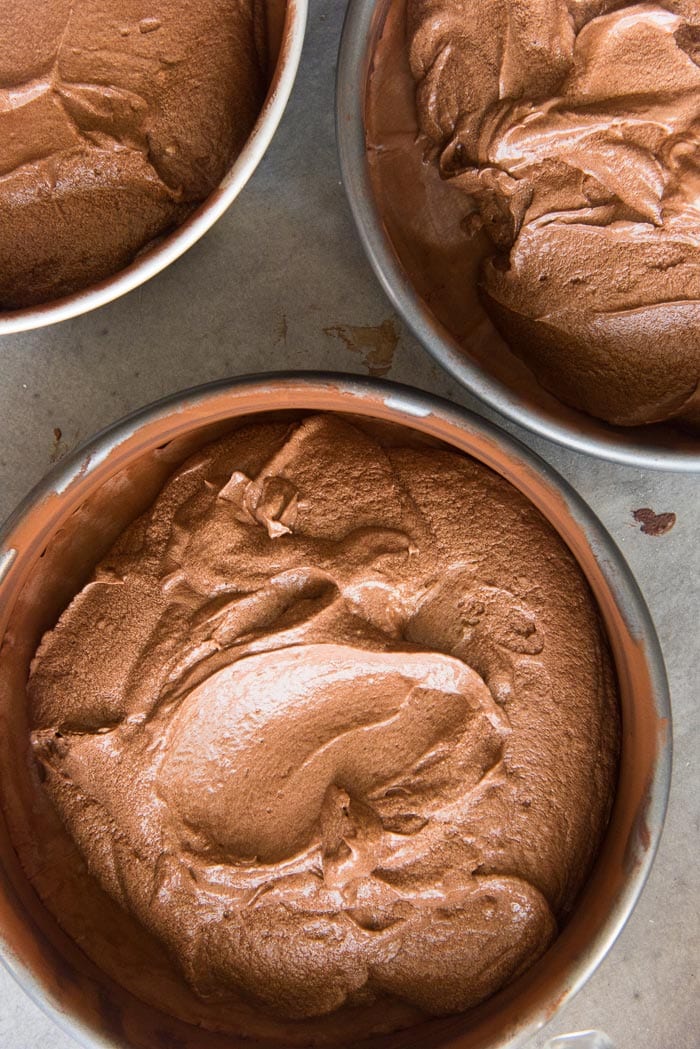
Another technique is to use cake baking strips. These are large strips of fabric that you soak in water and wrap around a filled cake pan before going in the oven. The wet baking strips act like a mini water bath and help regulate the temperature of the cake batter from the sides. This will also result in cake layers that are nice and flat on top, and have more straight edges and sides as well.
It’s also important to allow the cake to cool ONLY for about 10-15 minutes before removing it from the pan. The longer you let the baked cake sit in the pan, the more it will shrink (because of residual heat), and even worse, you may cause the cake to soak up too much moisture on the bottom as the water condenses. This will make the cake sticky and harder to manage.
Tips on how to make the perfect, creamy, soft chocolate buttercream
When it comes to frosting a cake, patience is key. Allow the cake to cool completely, before getting that frosting anywhere close to it! If the cake is warm (even if it’s only in the center), the frosting will start to melt and slide right off. Not good.
The secret to a perfectly soft and creamy chocolate frosting is to start with COOL butter. Not cold or chilled butter, just cool butter. Butter at room temperature is OK, as long as the room temperature is somewhat cool, about 65-70°F (18-21°C).
In the summer months or in a tropical climate, this ambient temp. is too warm and the butter will soon become too soft. The solution is to either put soft butter in the freezer for about 5-10 minutes to cool it down slightly, OR to remove the butter from the fridge about 20-30 minutes before you start making the buttercream frosting.
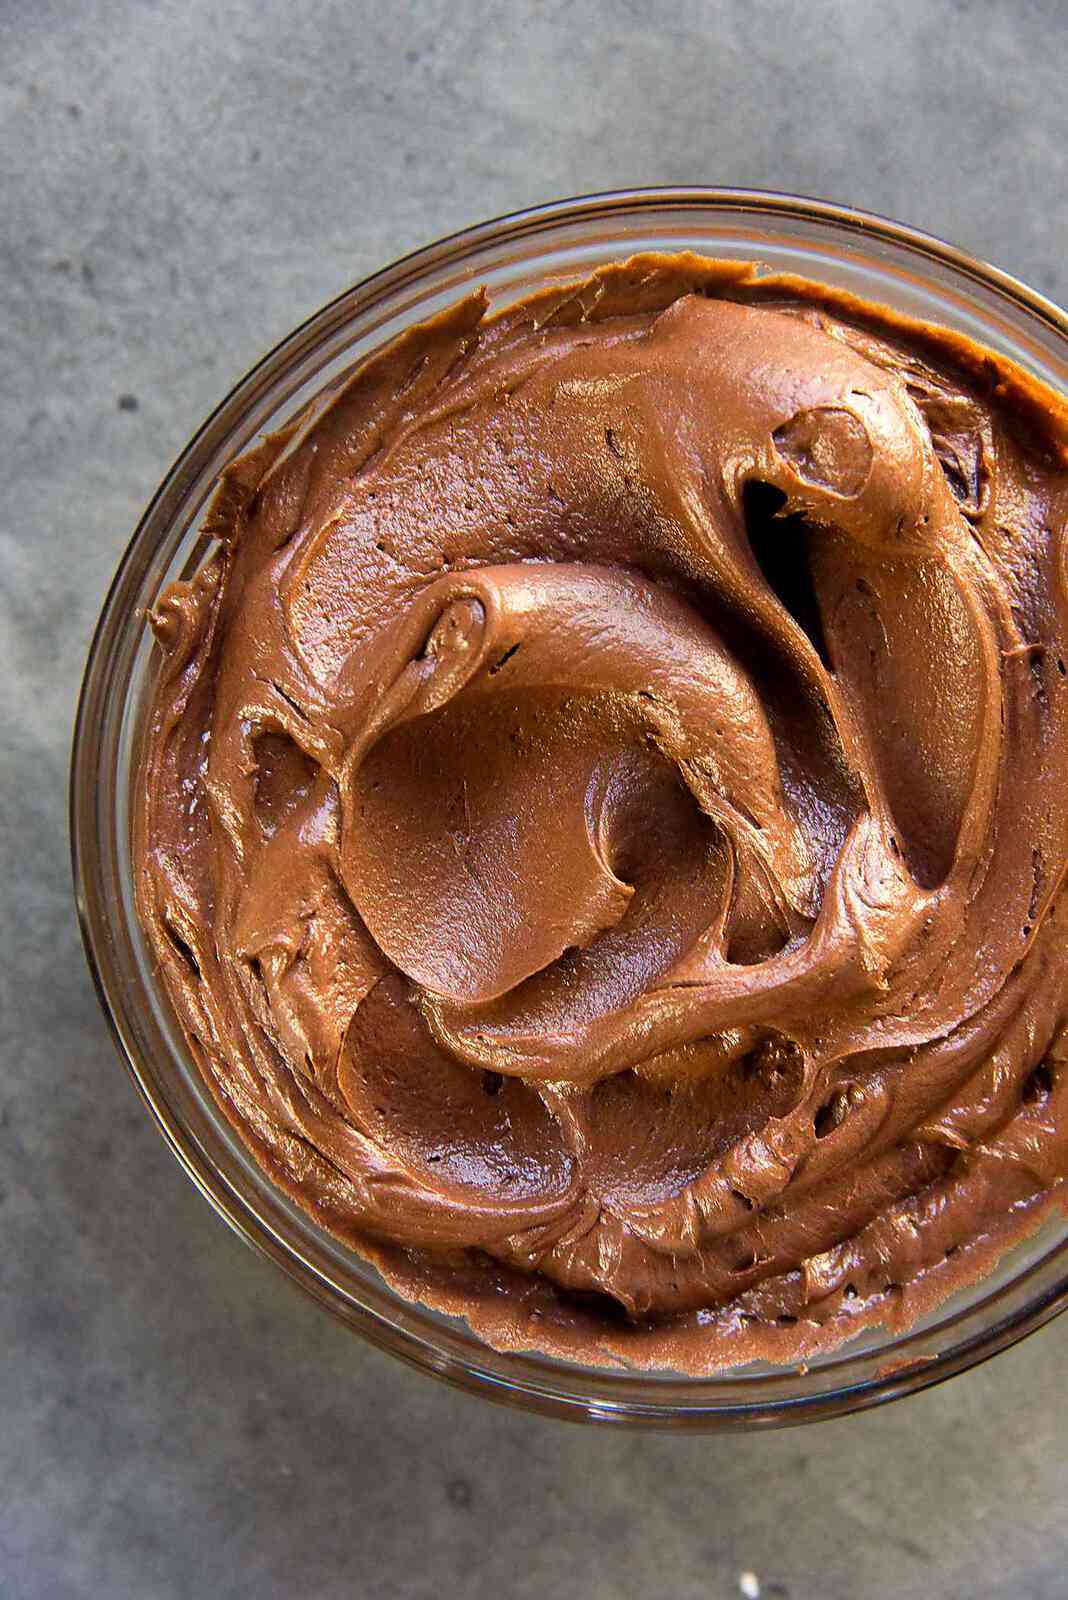
If you use butter that’s too soft, the whisking action will cause the butter to split. Not good. It’ll look terrible, and the split buttercream will cause excess moisture to seep into the cake as well.
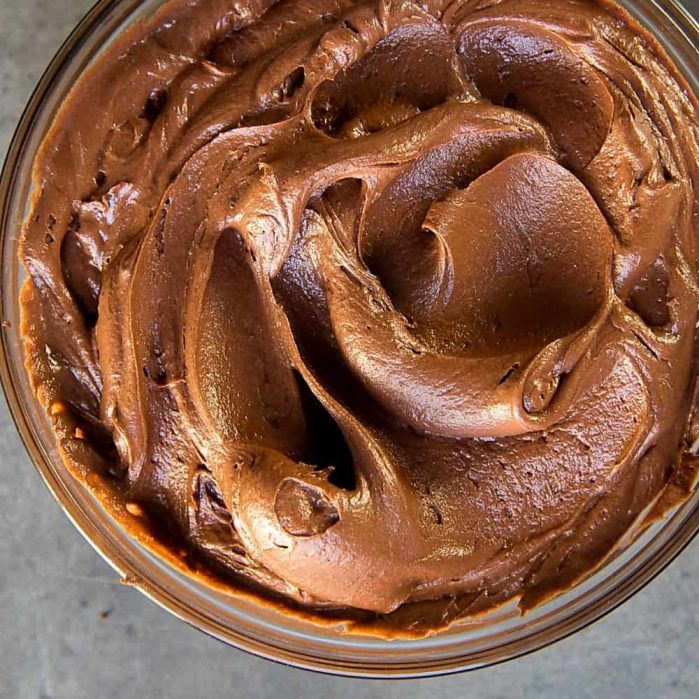
Buttercream made with cool butter, will results in a creamy, chocolatey, melt-in-your-mouth soft buttercream that does not split. Please see my easy chocolate buttercream frosting post for more details.
Ideas on how to perfectly frost this classic chocolate cake
If you’re making this chocolate cake for your family, and they couldn’t give two hoots about how clean or pretty it looks, then just go ahead and slather that damn fine chocolate frosting all over the cake, however you want!
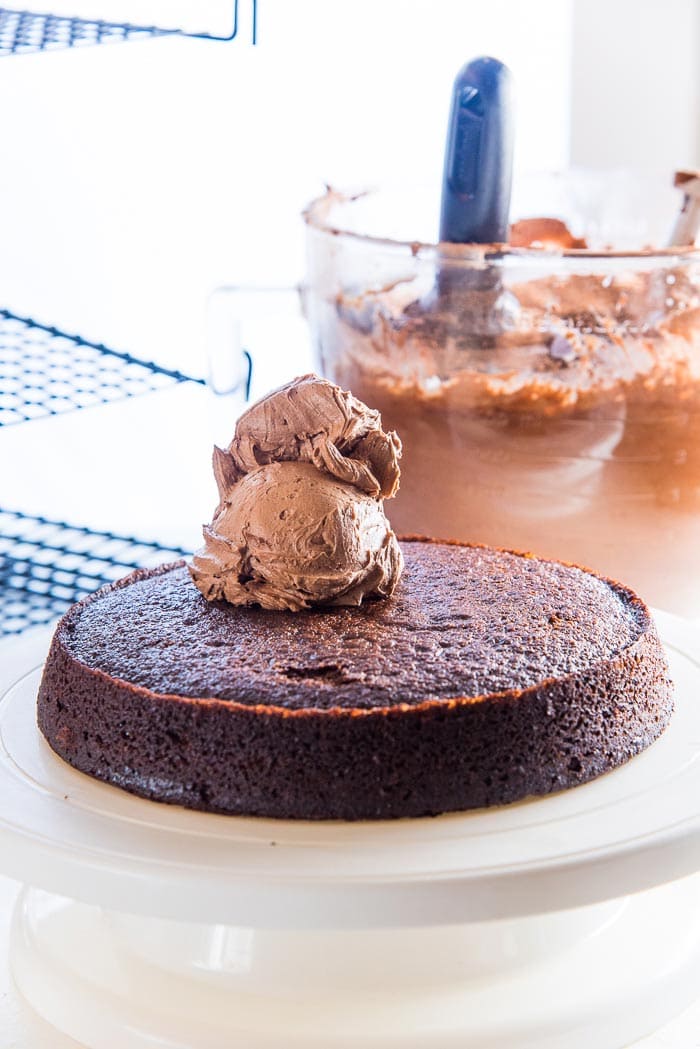
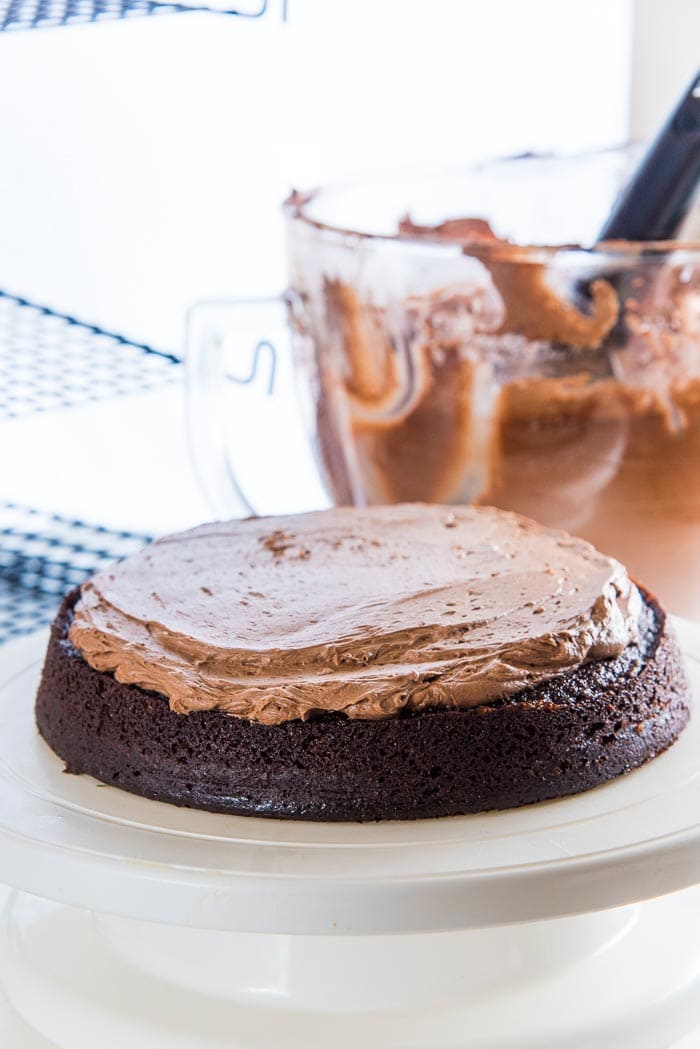
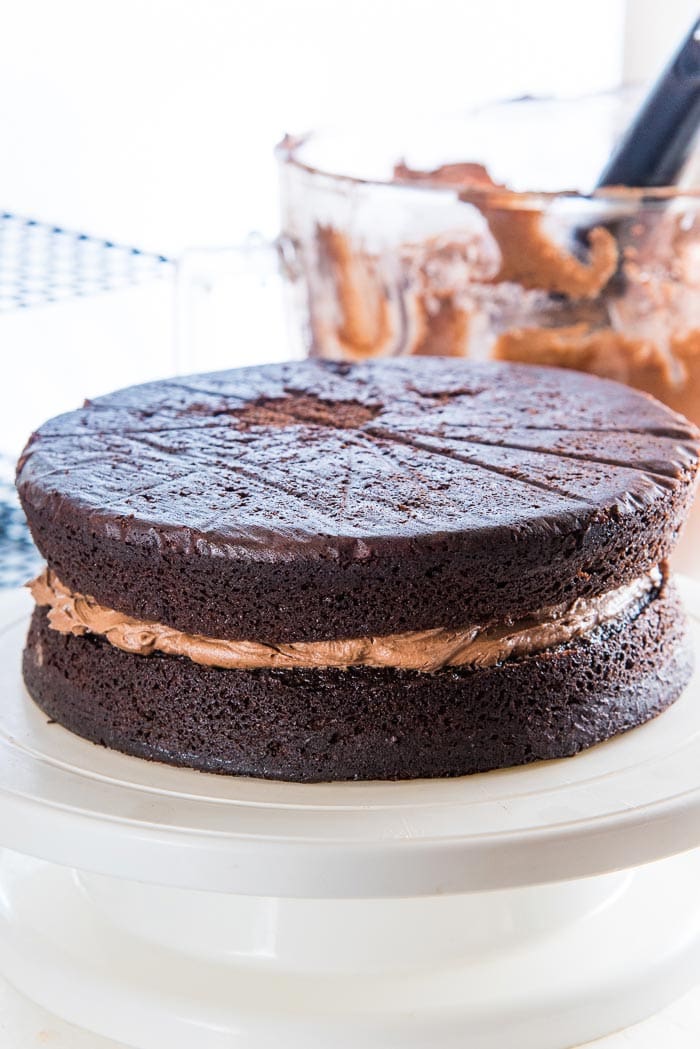
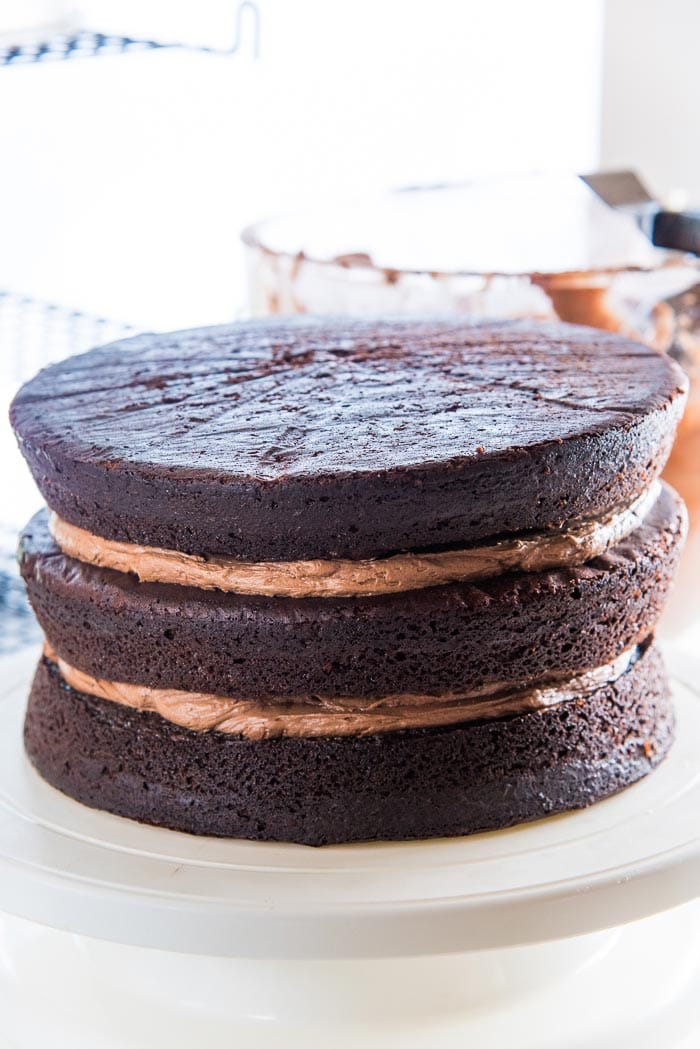
But if you’re going for that perfect “messy looking” cake, or you want a sleek looking cake with smooth edges, then you can follow these steps.
- Use about 3/4 – 1 cup of chocolate buttercream to sandwich each cake layer. This will make sure you have an even amount of frosting between each layer.
- DO NOT spread frosting right to the edge of the cake layer. I leave about a 1/2 an inch gap at the edges. This is because I FILL THE EDGES later with more frosting when I’m crumb coating the cake (see below).
- Check each layer as you go to make sure the cake is even. I move the cake layers around, until they all look as even as possible, and then gently press down the cake layers. If you do this as you go, you won’t end up with a wonky cake. But if you do, it’s still fixable!
- CRUMB COATING – crumb coat the classic chocolate cake with your creamy chocolate buttercream frosting. I start off by filling the edges of the cake layers (that 1/2 inch gap from the earlier step above), and then apply a thin chocolate buttercream layer to get even and smooth edges.
- Check once more time to make sure the cake is straight. Press down and/or gently shift the cake layers around if one side is higher than the rest of the cake. Crumb coat to keep the cake together.
- Next, it’s absolutely important to let the cake rest and set (in the fridge) for at least 1 hour (or until the frosting is set).
How you frost the cake after this is totally up to you!
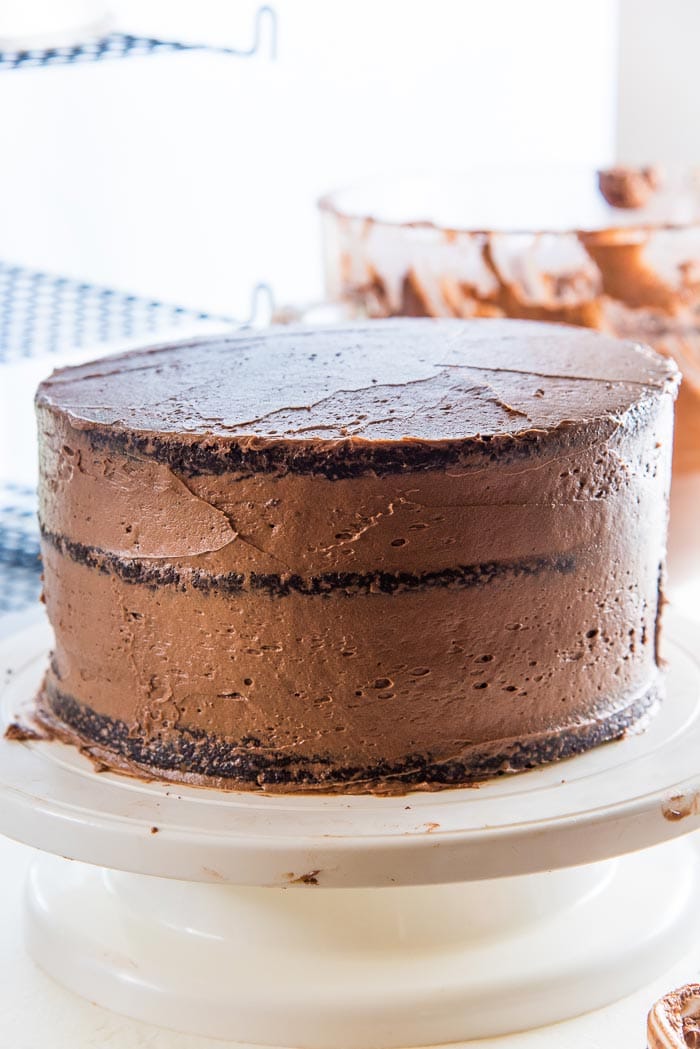
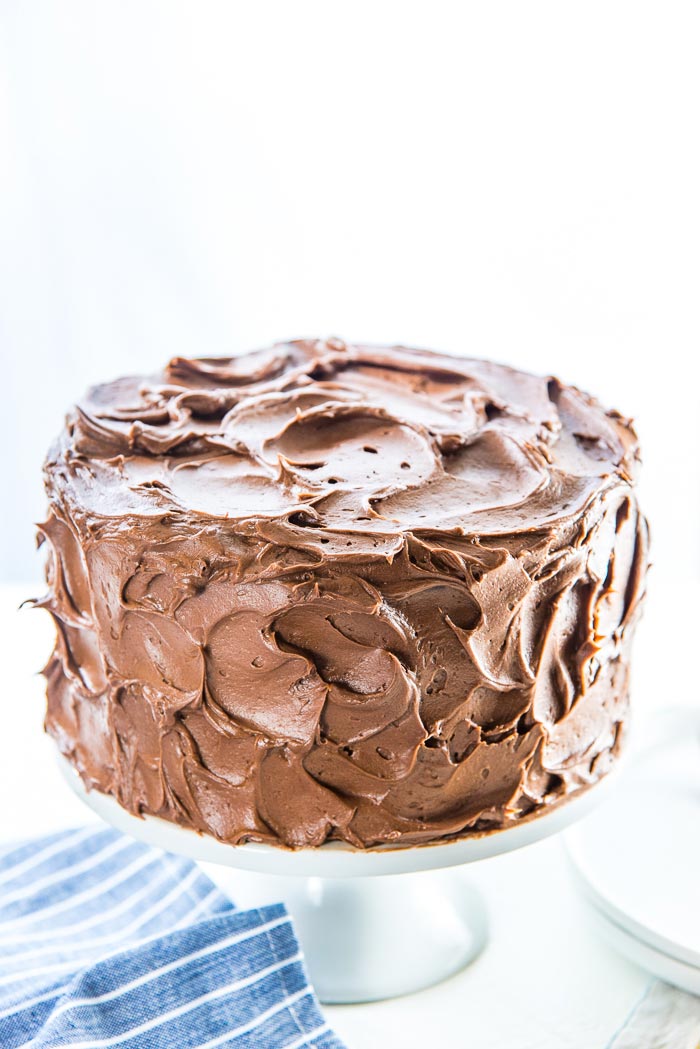
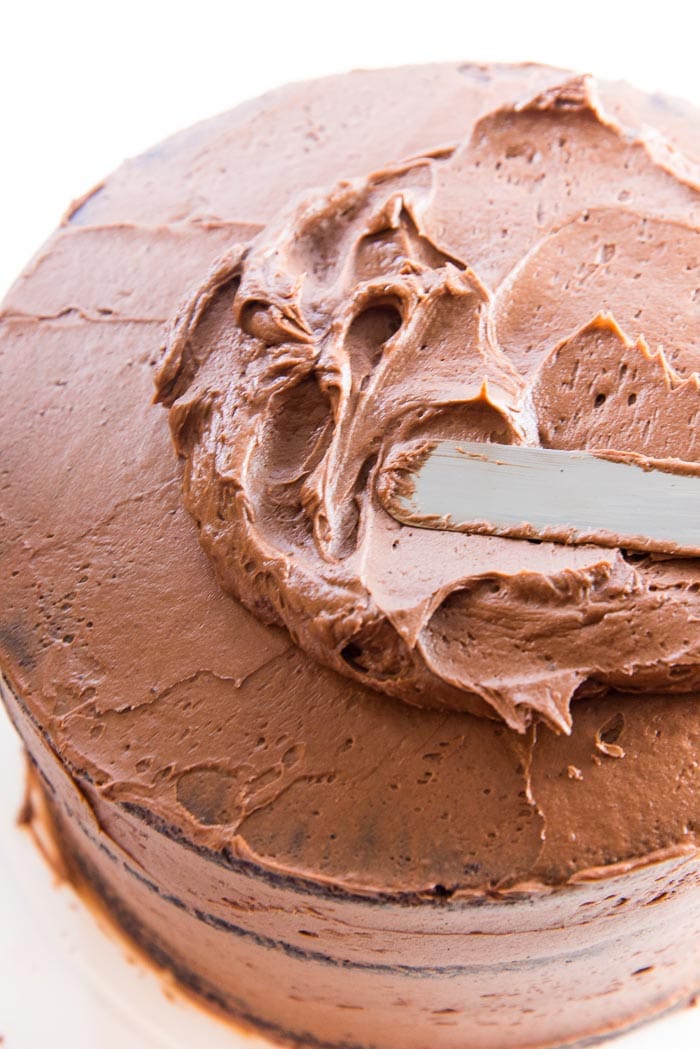
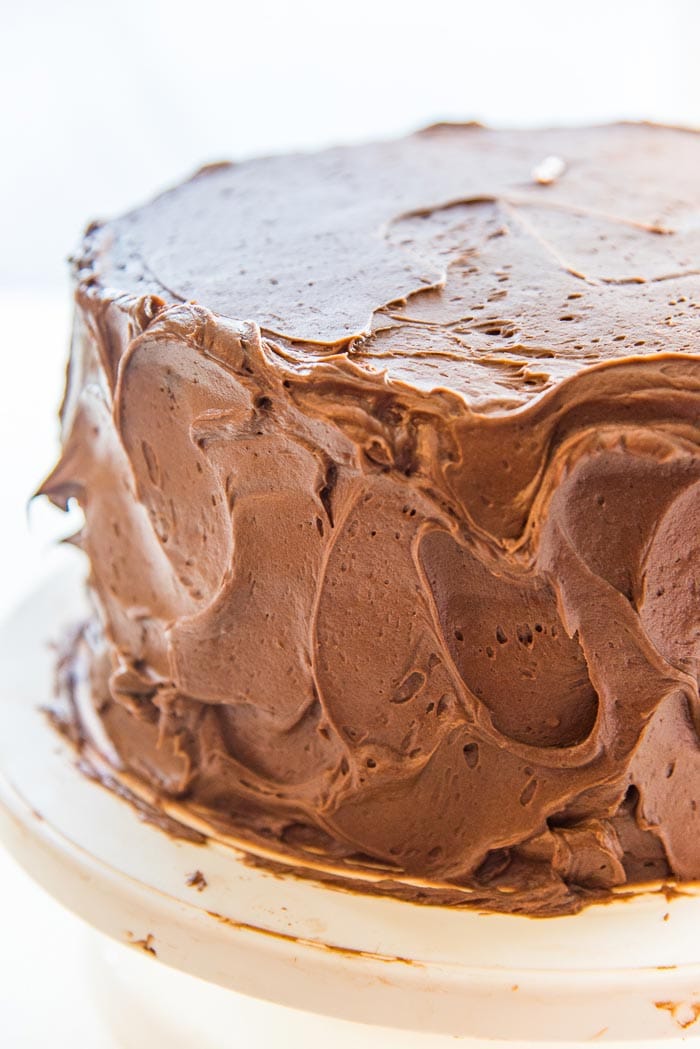
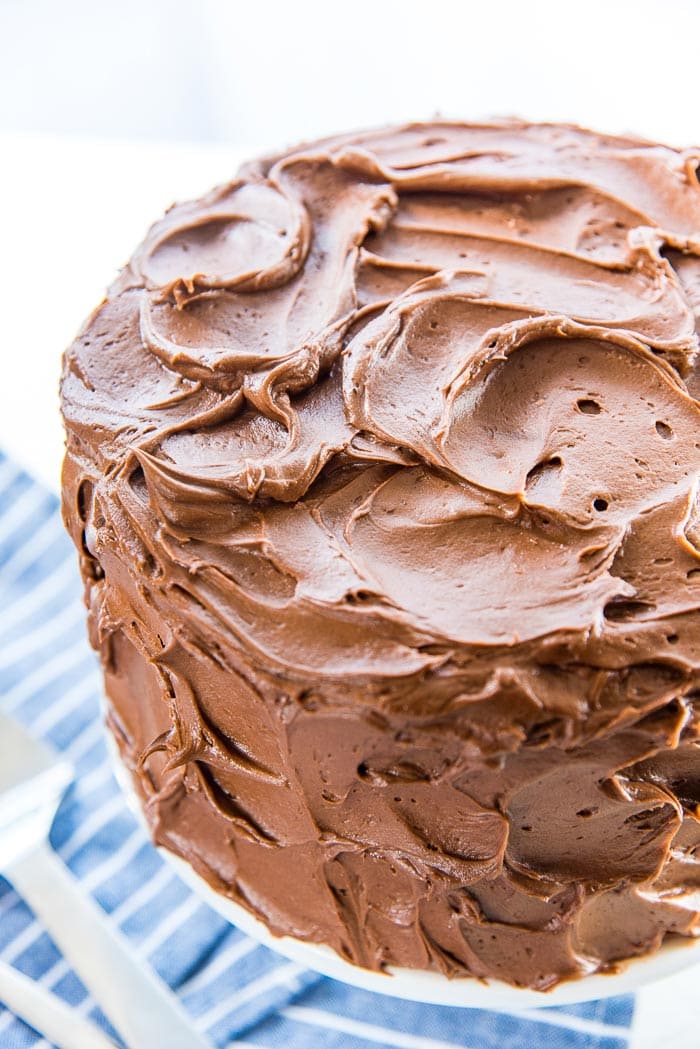
Want swirly buttercream the way I’ve frosted the chocolate cake in these pictures? Go for it!
Want smooth, straight edges instead? Use a cake scraper to get those straight edges. You can even use a decorative icing nozzle to decorate the cake.
Then cover it with chocolate shavings, sprinkles, nuts, or nothing at all.
How to get perfect cake slices with clean cuts
Warm a sharp knife or serrated knife using hot water. Wipe the blade dry, and cut through the cake cleanly. I prefer to warm and wipe the blade for each cut, so I keep a jug of hot water near me to dip the knife in after each cut.
This cake defines a classic chocolate cake for me! Not too decadent, just perfectly fudgy and soft, and super chocolatey. Airy, but not dry at all. With a creamy, melt-in-your-mouth soft buttercream frosting. You simply can’t go wrong with this best chocolate cake recipe! 🙂
If you liked this classic chocolate cake recipe, don’t forget to subscribe for new (and free) recipes by entering your email address on the side bar (and get all these recipes delivered straight to your inbox), so you don’t miss out on a thing. You can find me on FACEBOOK, INSTAGRAM, PINTEREST, YOU TUBE and GOOGLE-PLUS too.
Other cake recipes you’ll love
- Classic vanilla cake
- Glazed chocolate bundt cake
- Lemon raspberry cake
- Sri Lankan butter cake
- Banana layer cake
- Mulled wine cake (sponge cake)
- Ginger cardamom cake (magnolia cake)
- Coffee layer cake (espresso cake)
- Chocolate roll cake
- Yule log cake
- Vanilla roll cake
- Devil’s food cake
- Classic white cake
- Extra fudgy one bowl chocolate cake
- Classic pound cake
- Bourbon butter pecan cake
Looking for more recipes?Sign up for my free recipe newsletter to get new recipes in your inbox each week! Find me sharing more inspiration on Pinterest and Instagram.
The Best Classic Chocolate Cake
Ingredients:
- Extra butter and cocoa powder and parchment paper for the pans
- 120 mL boiling water ½ cup
- 75 g Dutch cocoa powder ¾ cup, spoon and leveled
- 240 mL chilled buttermilk 1 cup
- 10 mL white vinegar 2 tsp
- 15 mL vanilla extract 1 tbsp
- 300 g AP flour 2 ½ cup AP flour, spoon and leveled
- 1 tsp baking powder
- 1 tsp baking soda
- 285 g unsalted butter 2 ½ sticks, softened
- 450 g white sugar 2 ¼ cups
- ½ tsp sea salt
- 4 large eggs
Creamy Chocolate Buttercream
- 2 batches Chocolate Buttercream see recipe notes
Instructions:
- Line the bottom of three 8 inch cake pans with parchment paper (using some butter to stick the paper to the bottom). Brush/rub the sides of the pan with butter as well. Dust the sides of the cake pans with Dutch cocoa powder as well. Set aside.
- Preheat the oven to 325°F (160-165°C).
- Have all the ingredients measured and ready to go.
- Place the hot water and cocoa powder in a jug and whisk to dissolve the cocoa powder in the water. You should have a thick and smooth paste. Stir in the buttermilk, vinegar and vanilla, and set aside.
- Sift the flour, baking powder and baking soda together into a bowl. Set aside.
- Place the butter in the bowl of your mixer. Using the paddle attachment, beat the butter until it’s light and fluffy, at medium speed for about 2 – 3 minutes.
- Add the sugar and salt into the mix, and mix for a further 4 – 5 minutes until light and fluffy. Remember to scrape down the sides and the bottom to make sure that the sugar is well incorporated. Beat the butter and sugar mix further if needed (until light and fluffy).
- Mix in the eggs, one at a time, about 20 – 30 seconds per egg. After adding 2 eggs, stop the mixer and scrape down the sides and bottom. Start the mixer again and add the final 2 eggs. Once the final egg has been whisked well into the batter, stop the mixer and remove the bowl.
- The chocolate milk and flour will be mixed in by hand with a spatula, but can be done in the mixer as well (see recipe notes).
- Add a generous ⅓ of the flour mix and fold it into the batter using a spatula. When the flour is mixed in half way (with some white streaks visible in the batter), add ½ of the chocolate milk mixture into the batter.
- Using a spatula, fold in the chocolate mixture until it’s mixed in half way (with dark chocolate streaks now visible in the batter).
- Next, add another generous ⅓ of the flour mix and fold it into the batter using the spatula.
- When the flour is almost completely mixed in (some white streaks are OK at this stage), add the final bit of the chocolate milk. Fold in until almost fully mixed in (some dark chocolate streaks are also OK at this stage).
- Add the final bit of flour, and fold it into the batter until it’s all FULLY incorporated. You should now have a smooth chocolate cake batter, free of lumps and white flour streaks.
- Pour the batter into the prepared cake pans – about 18.7 oz (530 g) per pan. Mix and fold the batter before measuring it into each pan.
- Transfer the pans into the preheated oven. Make sure the pans are not touching each other in the oven if possible (see recipe notes).
- The total bake time for the cakes is between 25 – 30 minutes, but make sure to rotate the cake pan once, half way through. The cakes will be done when they are springy to the touch in the center, and the sides are just starting to pull away from the sides of the pan. A clean toothpick inserted into the middle of the cake should come out clean at this point.
- Remove the cake pans from the oven and allow them to cool for about 10-15 minutes, until the cake pans can be handled.
- Carefully flip the cakes out of the pan, and place them on a cooling rack (parchment side down), until they’re completely cooled down. If you won’t be frosting the cake immediately, cover the cake layers with plastic wrap and store in the fridge.
Frosting the Chocolate Cake
- On the day you're frosting the cake, make a double batch of this chocolate buttercream frosting recipe. Remember to only add cold whipping cream to get the desired fluffiness.
- Place one layer of the chocolate cake on a cake decorating plate or board.
- Using a large ice cream scoop (¼ cup capacity), add 3 – 4 scoops of buttercream on top (about ¾ – 1 cup).
- Evenly spread the buttercream using an offset spatula, leaving about a ½ inch gap at the edges (see pictures and post for more details).
- Place the second cake layer on top, and gently press down. Repeat with the buttercream, followed by the final cake layer (making sure the flat side of the final cake layer is facing up). Gently press this cake layer into the buttercream below and make sure all the sides and surface are level and straight.
- Apply a thin crumb coating on the cake. Make sure to fill the gaps at the edges of the cake layers to make the sides straight and smooth. Add the crumb coating to the top of the cake as well. Refrigerate the cake for about 30 mins – 1 hour (or more) until the crumb coating is set. If you’d like to leave the cake in the fridge for longer at this stage, make sure to loosely cover it with plastic wrap.
- When the crumb coating has set, coat the cake with the rest of the buttercream. Free style the frosting pattern, or use a cake scraper to get nice, smooth, straight edges. Use icing/pastry tips, or chocolate shavings/sprinkles to decorate. Serve.
Tips & Tricks
Notes on mixing the cake batter with a stand-mixer for the final step
You can mix the chocolate milk and flour into the batter using the STIR setting (or the lowest speed) on your stand mixer. If you do use the stand mixer, make sure to mix the batter for as little as possible, because you can easily end up over-mixing the batter.Notes on baking the cake layers
To get more even, equal-sized cake layers, you can use baking strips to wrap around the cake pans (this is optional).Notes on the Chocolate Buttercream Recipe
You can choose between a dark chocolate buttercream or a sweeter chocolate buttercream following the recipe in the link above. I prefer to use the sweeter buttercream for this classic chocolate cake.Notes on cutting the cake
Use a warm, dry knife to get clean cut lines for the cake. I dip the cake in hot water and wipe the blade before cutting into the cake. I do this for every cut I make to prevent messy looking cake slices (so I keep a jug of hot water near by to dip the knife in).Nutrition Information:
“This website provides approximate nutrition information for convenience and as a courtesy only. Nutrition data is gathered primarily from the USDA Food Composition Database, whenever available, or otherwise other online calculators.”

ethan says
could i add almond flour or ground almonds for flavor without compromising the recipe?
Dini says
Hi Ethan
I haven’t tried to do this with this specific recipe unfortunately. The almond flour can make the cake a little dry and crumbly if too much is added. But too little will not add enough flavor. My recommendation is to find a recipe that has been tested with almond flour, so you can get the right texture and flavor without any guess work.
I hope that helps!
Nick Smith says
I made this. I followed the recipe, used standard cocoa powder not Dutch. Used a food processor for mixing. In a small oven I had to cook in 3 batches. My dough seemed slightly thinner than your pictures, however the cake came out moist and properly cooked. I layered strawberry jam on the first layer with a touch of frosting (from a different recioe). Frosting for the second layer, tops and sides. It was a hit at the office BBQ.
PS. That is my real name.
Danielle Denton says
My daughter love chocolate pudding, would adding it to the cake mix fry ruin the cake?
Dini says
Hi Danielle
I wouldn’t recommend adding chocolate pudding to the cake batter as this will affect the final texture of the cake. The buttermilk in the recipe is needed to activate the baking soda, so it cannot be substituted with pudding without making adjustments to add acidity.
Also, adding pudding might have a negative effect on the texture of the cake and make it more dense and the cake will neither have a light cake texture, or a pudding texture.
If your daughter loves chocolate pudding, then I highly recommend adding chocolate pudding as a filling between the cake layers instead of adding it to the cake mix.
Pipe a chocolate buttercream dam around the edge of the cake layer and fill the middle with chocolate pudding. I love using my chocolate pudding recipe or my chocolate pastry cream (for a thicker filling), as a filling between cake layers, with a buttercream dam. This way the pudding filling will not get squeezed out when the top cake layer is placed on top.
I hope that helps!
Danielle Denton says
Ty! Now will this cake dry out in the fridge overnight ? Her party is tomorrow so I did the cake today.
Dini says
Hi Danielle
If the cake layers (without frosting) are wrapped with plastic wrap, then it will not dry out.
If the cake is already frosted, and the entire cake is covered with buttercream, the buttercream acts as an insulator to prevent the cake from drying.
I hope that helps
Sophie Imbers says
Hi Dini. Your recipes are the absolute best! Can I make this recipe on 3 7-inch pans? and if I can, should I lower the baking temperature?
Dini says
Hi Sophie
Thank you! I’m so glad that you enjoy my recipes 🙂
As for changing the cake pans! You can, but I recommend adjusting the recipe to fit the 7 inch pans. If you make the same recipe, you will need taller cake pans, to fit the batter in 7 inch pans and you will need to adjust the baking time and possibly the baking temperature as well.
But if you keep the height of the cake the same, the baking time will only need to be adjusted slightly.
Here is my cake pan conversion chart and you can use the area calculations to find out how much batter you will need.
For example, an 8 inch round pan has an area of 50 square inches for 150 for 3 pans.
three 7 inch pans will have an are of 117 square inches. 117/ 150 = 0.78. So you will only need about 78% of the original recipe to make 7 inch cake layers.
Multiple the ingredient amount by 0.78 OR, make the full batch, but only use 78% of the batter (by weight) and make cupcakes with the remaining batter.
I hope that helps!
Sophie Imbers says
Hi Dini,
Thank you for your reply, it was really helpful. Since it was pretty much 25% of the batter for each 7 inch pan, I ended up using 100% of the batter in 4 pans instead of 3 and it turned out great! I baked the cakes in advance for my boyfriend’s birthday, so I did put some simple syrup on them before assemblying and they tasted amazing! They were so moist and fluffy. Everyone loved them and my mother in law even asked me to make the same cake again for her birthday.
Thank you so much.
Sobia Shahid says
I loved this recipe so much
Sharron d says
Best chocolate cake recipe! Light, fluffy and chocolaty. Can I make cupcakes using this recipe?
Dini says
Hi Sharron!
Yes you can!
The cupcake liners should be filled between 2/3 – 3/4 of the way. Then baked until a toothpick comes out clean about 20 – 30 minutes.
I made these Halloween chocolate cupcakes using this recipe, so you can follow the instructions there with the cake recipe.
I hope that helps!